Ryzen AI MAX+395(on Ubuntu)で PyTorch をビルド
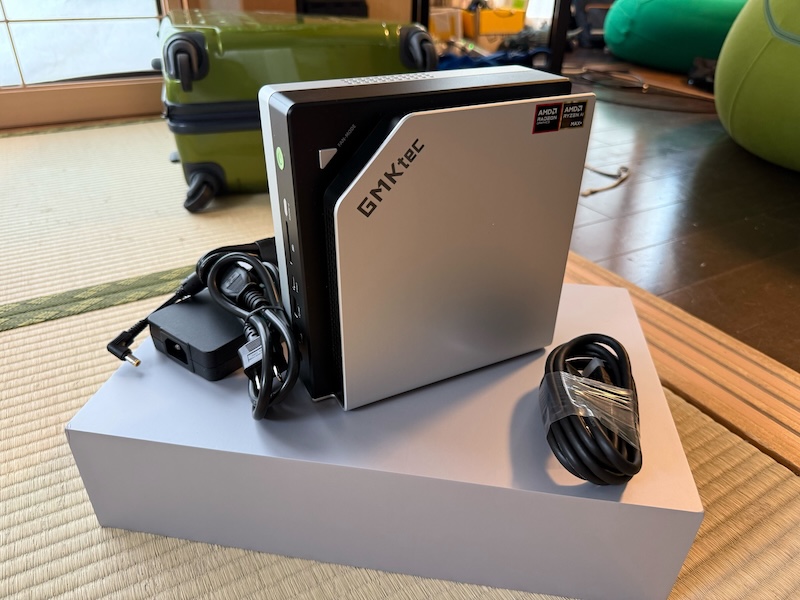
GMKtec の EVO-X2 を買った。
Windows はここ最近使ったことなかったので、速攻で Ubuntu をインストールしたのだが、結構茨の道だった。そもそも手順が悪いのか、ROCmがまだ Ryzen AI Max+ 395 (gfx1151) に対応してないからなのか、pytorch が動かない。
すなわち芋蔓式に、Stable Diffusionも動かなければFramepackも動かないし、llama.cpp も Vulkan で動かさざるを得ない。
ということで Ryzen AI Max+ 395 で動く pytorch は自分でビルドすれば手に入るということを知ったので自分でビルドした。
ちなみに、単にコンテナで動かしたいだけなら以下のコンテナイメージをベースにすれば良さそう。
こんな感じで動作確認できる。
$ sudo docker run -it --cap-add=SYS_PTRACE --security-opt seccomp=unconfined \
--device=/dev/kfd --device=/dev/dri --group-add video \
--ipc=host ghcr.io/rocm/therock_pytorch_dev_ubuntu_24_04_gfx1151:nightly \
python -c "import torch; a=torch.randn(3).to('cuda'); print(a)"
tensor([0.0159, 0.7455, 1.3787], device='cuda:0')
ビルドするなら、現時点で自分が試したのは以下の二つ。
環境
FROM ubuntu:24.04
自分はメインの作業をコンテナ上でやっているので上記となる。ちなみにホストのOSも Ubuntu 24.04である。
ROCm/TheRock
実際のところ、ghcr.io/rocm/therock_pytorch_dev_ubuntu_24_04_gfx1151:nightly に gfx1151 用の pytorch がインストールされているので再ビルドすることもなくそれを持ってこれればいいのだけど、インストール済みの python パッケージを再パッケージ化する方法がわからなかったので、ビルドした。
方法は docker がインストールされていれば単純で、READMEに書いてある通りに、
# Install Ubuntu dependencies
sudo apt install gfortran git git-lfs ninja-build cmake g++ pkg-config xxd patchelf automake python3-venv python3-dev libegl1-mesa-dev

# Clone the repository
git clone https://github.com/ROCm/TheRock.git
cd TheRock

# Init python virtual environment and install python dependencies
python -m venv .venv && source .venv/bin/activate
pip install -r requirements.txt

# Download submodules and apply patches
python ./build_tools/fetch_sources.py
そして、おもむろに docker build
sudo docker build --build-arg AMDGPU_TARGETS=gfx1151 \
     --file dockerfiles/pytorch-dev/pytorch_dev_ubuntu_24.04.Dockerfile \
     --target pytorch_build --tag ghcr.io/rocm/therock_pytorch_dev_ubuntu_24_04_gfx1151:pytorch_build \
     .
PyTorch のコンテナイメージをビルドする Dockerfile が dockerfiles/pytorch-dev/pytorch_dev_ubuntu_24.04.Dockerfile にあるのだけど、ビルドが終了するとせっかく生成した torch-*.whl が削除されてしまうので、途中の pytorch_build をターゲットにしてビルドする。
出来上がった ghcr.io/rocm/therock_pytorch_dev_ubuntu_24_04_gfx1151:pytorch_build には
/opt/rocm: gfx1151 用の ROCm/therock/pytorch/dist: pytorch の wheel が含まれたディレクトリ/therock/pytorch_vision/dist: pytorch_vision の wheel が含まれたディレクトリ/thero-k/pytorch_audio/dist: pytorch_audio の wheel が含まれたディレクトリ
があるので、よしなにコピーしてきて使う。(docker run した後に docker cp して持ってくるなど。)
ちなみに、性能はそれほど良くない。
scottt/rocm-TheRock
実際、上記を試してて、Stable Diffusionが遅いなーと思っていたところ、TheRock をメンテしてるっぽい scottt さんscottt/rocm-TheRock を知った。
gfx1151 で GPT2 を十分に動かすことができる pytorch, pytorch-vision, hipBLASLt を持ってるらしい。マジか。
コメントにはご丁寧にもビルド方法が書いてある。
git clone git@github.com:scottt/rocm-TheRock.git
cd rocm-TheRock
git switch gfx1151
podman build -t rocm-dev-f41 -f ./dockerfiles/pytorch-dev/rocm_fedora.Dockerfile .
podman build -t pytorch-dev-f41 -f dockerfiles/pytorch-dev/pytorch_dev_fedora.Dockerfile .
podman build -t pytorch-vision-dev-f41 -f dockerfiles/pytorch-dev/pytorch_vision_dev_fedora.Dockerfile .
最終的にできた pytorch-vision-dev-f41 に、hipBLASLt が有効化された ROCm と torch, torch_vision が含まれているのだが、出来上がったパッケージが python3.13 用だったりビルドがうまく走らなかったりしたのでちょっと修正した。
diff --git a/dockerfiles/pytorch-dev/pytorch_dev_fedora.Dockerfile b/dockerfiles/pytorch-dev/pytorch_dev_fedora.Dockerfile
index 462af8c..24f3705 100644
--- a/dockerfiles/pytorch-dev/pytorch_dev_fedora.Dockerfile
+++ b/dockerfiles/pytorch-dev/pytorch_dev_fedora.Dockerfile
@@ -15,6 +15,10 @@ RUN --mount=type=cache,id=pytorch-f${FEDORA_VER},target=/therock \
                --no-patch \
                --no-hipify

+RUN --mount=type=cache,id=f${FEDORA_VER},target=/var/cache/dnf  \
+       dnf5 install -y python3.12 python3.12-devel && \
+    alternatives --install /usr/bin/python python /usr/bin/python3.12 2
+
 # pytorch-prep
 # for `git am`
 RUN git config --global user.email "you@example.com" && \
@@ -31,7 +35,8 @@ RUN --mount=type=cache,id=pytorch-f${FEDORA_VER},target=/therock \
 # pytorch-build
 RUN --mount=type=cache,id=pytorch-f${FEDORA_VER},target=/therock \
        cd /therock/pytorch && \
-       uv pip install --system -r requirements.txt
+       uv pip install --system -r requirements.txt && \
+       uv pip install --system cmake==3.25.2

 ENV CMAKE_PREFIX_PATH=/opt/rocm
 ENV USE_KINETO=OFF
@@ -50,8 +55,12 @@ RUN --mount=type=cache,id=pytorch-f${FEDORA_VER},target=/therock \
 # Development image
 FROM rocm-dev-f${FEDORA_VER} AS pytorch-dev-f${FEDORA_VER}
 COPY --from=build /opt/torch-*.whl /opt
-RUN uv pip install --system /opt/*.whl
+RUN \
+    dnf5 install -y python3.12 python3.12-devel && \
+    alternatives --install /usr/bin/python python /usr/bin/python3.12 2 && \
+    python -m ensurepip
+RUN python -m pip install /opt/*.whl

 # the setuptools from rocm-dev-f${FEDORA_VER} could be too new
 # and cause C++ extensions of pytorch, like pytorch-vision to fail to build
-RUN uv pip install --system 'setuptools>=62.3.0,<75.9'
+RUN python -m pip install 'setuptools>=62.3.0,<75.9'
できたがったコンテナイメージから、/opt/rocm と /opt/*.whl をコピーして利用する。
ちなみに docker build で動かなかったので podman を Ubuntu にインストールする必要があったりする。
終わりに
scottt/rocm-TheRock でビルドしたパッケージはそのままだと Ubuntu で動かないので LD_LIBRARY_PATH に /opt/rocm/lib/llvm/lib を加える必要があったり、その他必要パッケージがあったりするのでよしなにインストールしてください。